| Sensor |
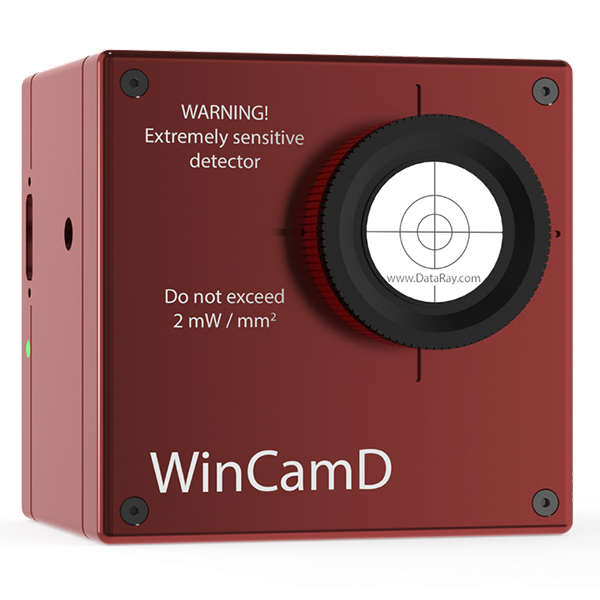
Vanadium oxide (VOx) microbolometer |
| Wavelength |
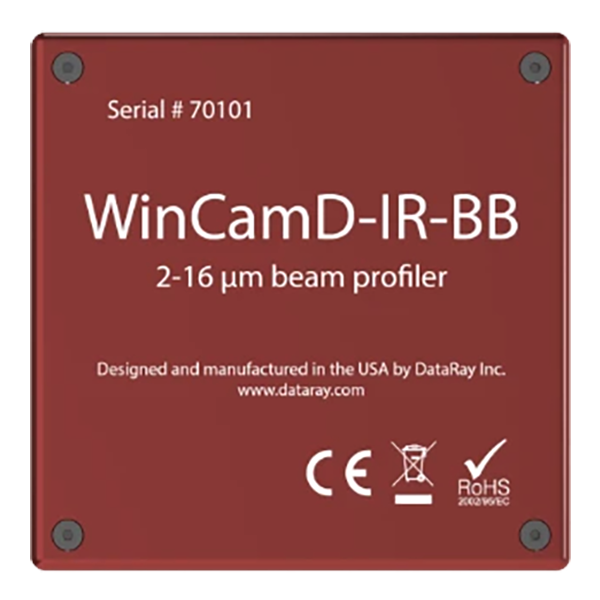
Broadband MWIR/FIR: 2 to 16 µm |
| Pixel Count, H x V |
307 kilopixels, 640 x 480 |
| Image Area |
10.88 x 8.16 mm |
| Pixel Dimension |
17 x 17 µm |
| Min. Beam (10 pixels) |
~170 µm |
| Shutter Type |
Rolling |
| Max. Full Frame Rate |
30 Hz (7.5 for export) |
| Signal to RMS Noise |
≥1000:1 |
| Opt./Elec. dB |
30/60 |
| ADC |
14-bit |
| Measurable Sources |
CW beams, pulsed sources (auto-trigger sync) |
| Measured Beam Powers |
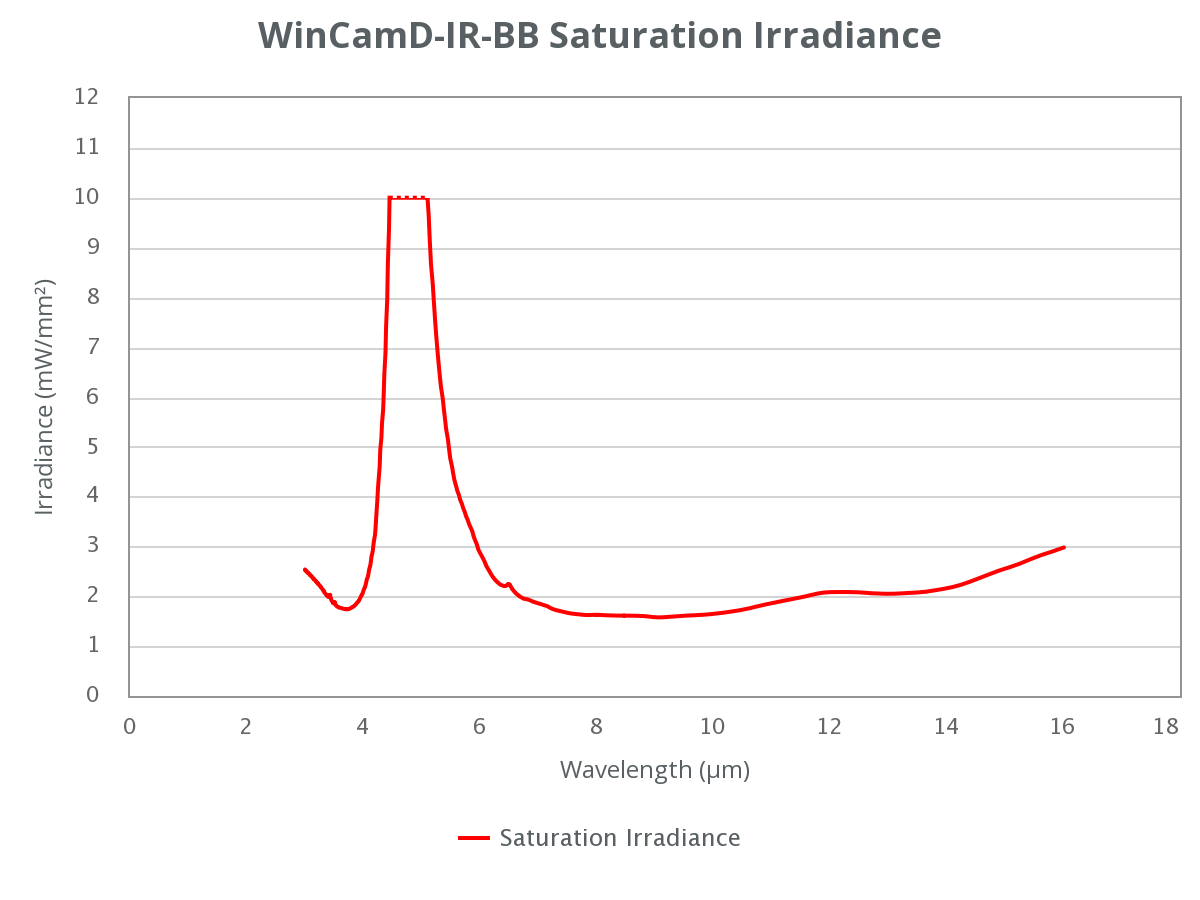
See the Approximate Saturation Power Limits graph |
| Manual Beam Attenuation |
Provided 1″ ND-1 and ND-2 reflective Germanium filters. See app note for more info. |
| Displayed Profiles |
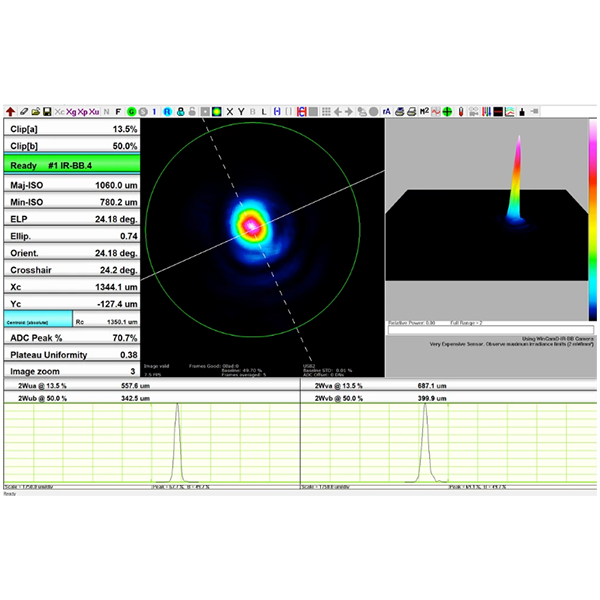
2-D & 3-D plots
10, 16, 256 or max colours or grey. Contoured display at 10 and 16 colour. |
| Measured & Displayed Profile Parameters |
Raw and smoothed profiles
[Triangular running average filter up to 10% FWHM] |
| Beam Diameter |
Diameter at two user set Clip levels
Gaussian & Second Moment beam diameters
Equivalent diameter above a user defined Clip level
Equivalent Slit and Knife Edge diameters |
| Beam Fits |
Gaussian & Top Hat profile fit & % fit
Equivalent Slit profile |
| Beam Ellipticity |
Major, Minor & Mean diameters. Auto-orientation of axes. |
| Centroid Position |
Relative and absolute
Intensity Weighted Centroid and Geometric Centre
Beam Wander Display and Statistics |
| Measurement Accuracy |
5 µm processing resolution for interpolated diameters
Absolute accuracy is beam profile dependent – ~10 µm accuracy is frequently achievable
Centroid accuracy is also beam dependent. It can be as good as ±10 µm since it is arithmetically derived from all pixels above the centroid clip level. |
| Processing Options |
Image & profile Averaging, 1, 5, 10, 20, Continuous.
Background Capture and Subtraction.
User set rectangular Capture Block for capture
User set or Auto ellipse Inclusion region with beam tracking for processing
*.ojf files save all WinCamD custom settings for particular test configurations |
| Pass/Fail display |
On-screen selectable Pass/Fail colours. Ideal for QA & Production. |
| Log data and statistics |
Min., Max., Mean, Standard Deviation, to 4096 samples |
| Relative Power Measurement |
Rolling histogram based on user’s initial input. Units of mW, µJ, dBm, % or user choice (relative to a reference measurement input) |
| Fluence |
Fluence, within user defined area |
| Certification |
RoHS, WEEE, CE |
| Multiple Cameras |
Up to 4 cameras, parallel capture.
1 to 8 cameras, serial capture. |
| Camera Dimensions‚ Width x Height x Depth |
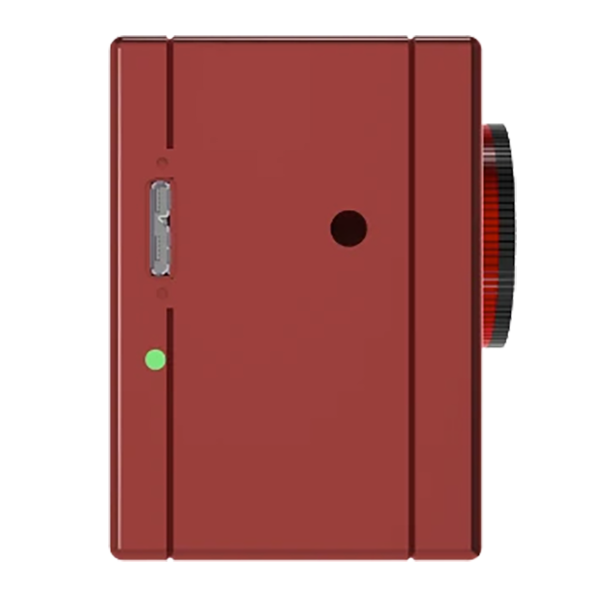
73 x 73 x 52 mm |
| Optical depth from housing/filter to sensor ±0.2 mm |
15.5 mm |
| Mounting |
1/4″-20 holes aligned with sensor centre |
| Weight (Camera with 1″ NDL-2 Ge filter) |
422 g) |


